Cracking and Repairing My Brack Cello Case
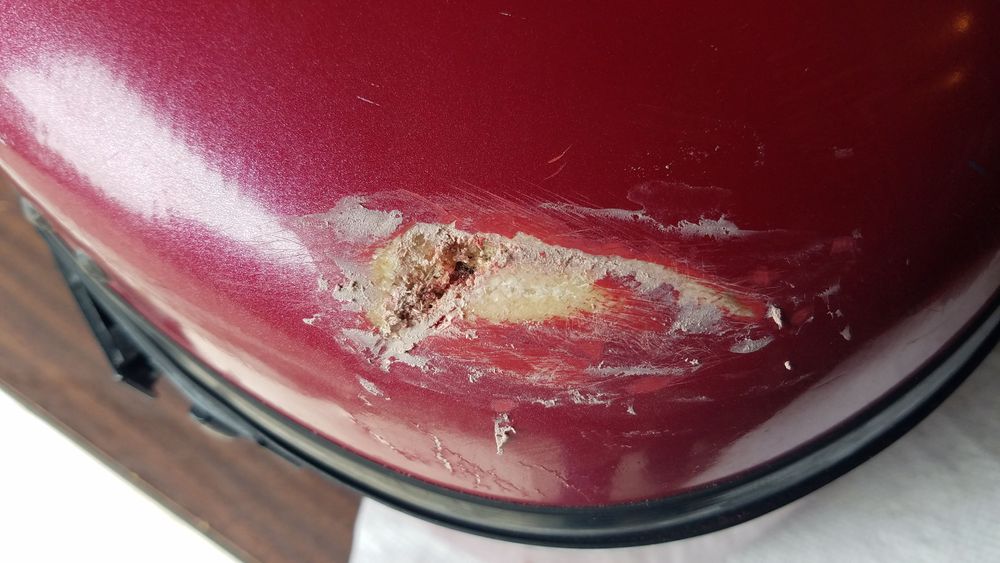
I cracked my cello case back in 2017. I was closing the trunk to my car, and my cello case was not far enough away. I slammed the trunk shut, hard. My cello looked okay, but I made an appointment with Ken Meyer just to be sure.
Ken had recommended the Brack case when I first got the cello. After looking over my cello, Ken said to me, “I’m glad this happened. Now I know the case works!”
Ken offered to repair the case, but I declined. So he gave me instructions on how to do it. I am not handy, so my dad helped me with it.
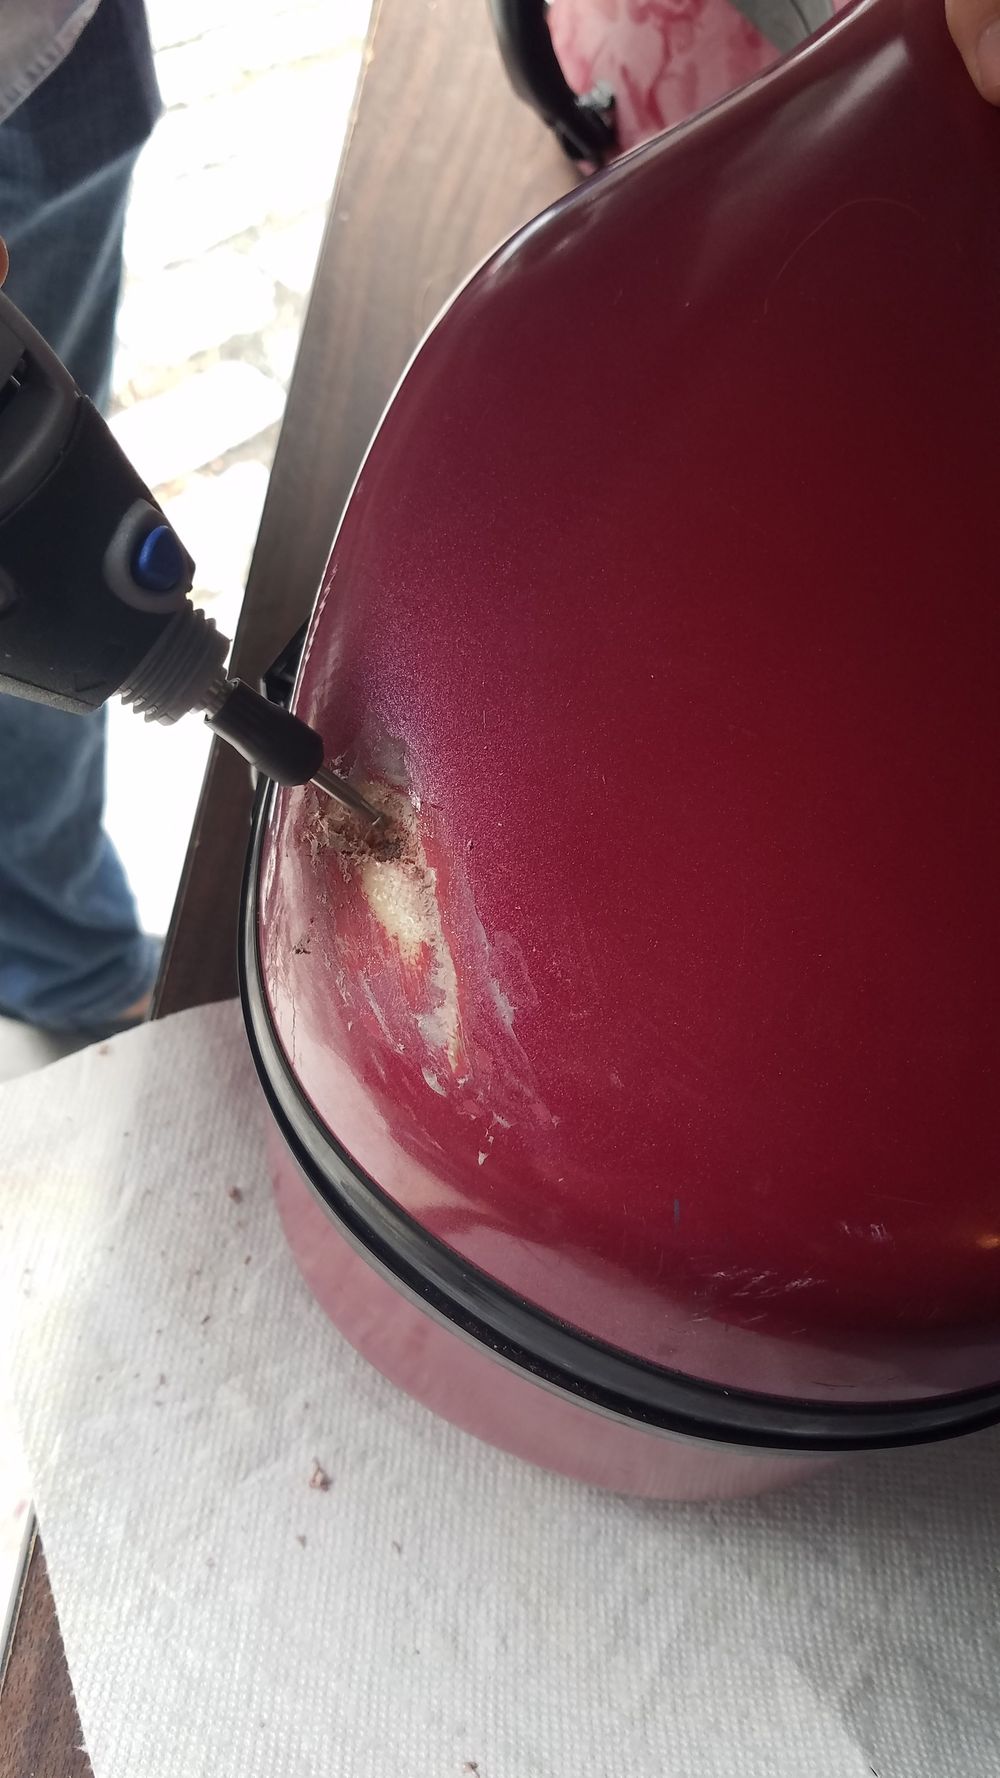
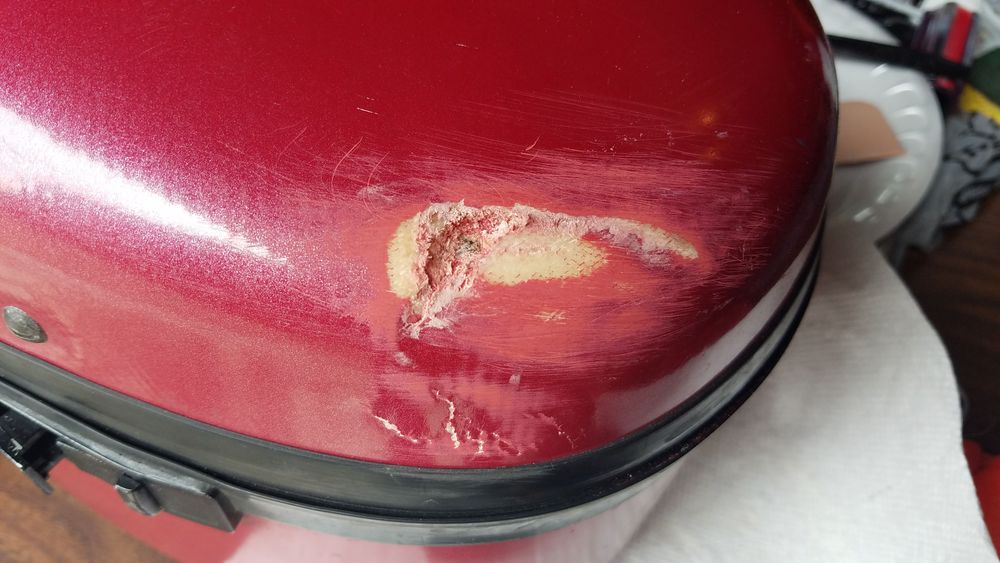
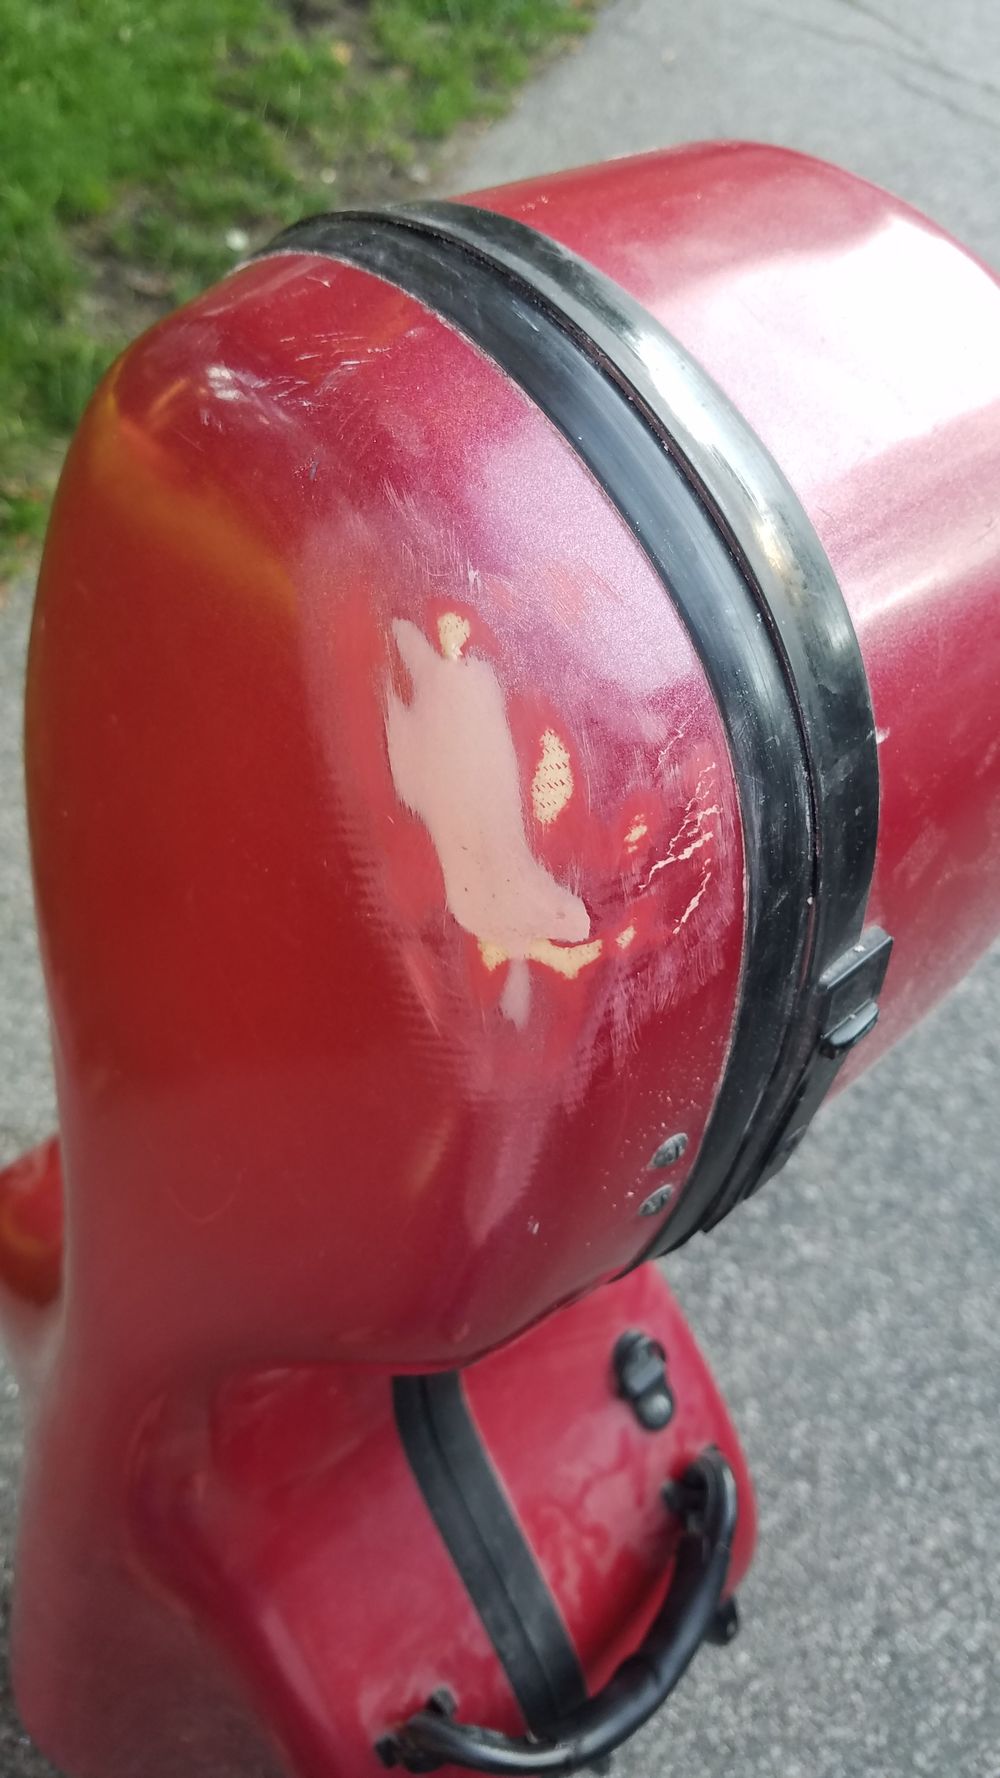
The first step was to buy some epoxy, filler, and paint. I managed to find a paint that matched the color closely. I had to use a hair dryer to help pop out the part of the case that was facing inward. Then I needed to sand the cracked area. It should not be too smooth, since a little roughness helps the adhesive stick better.
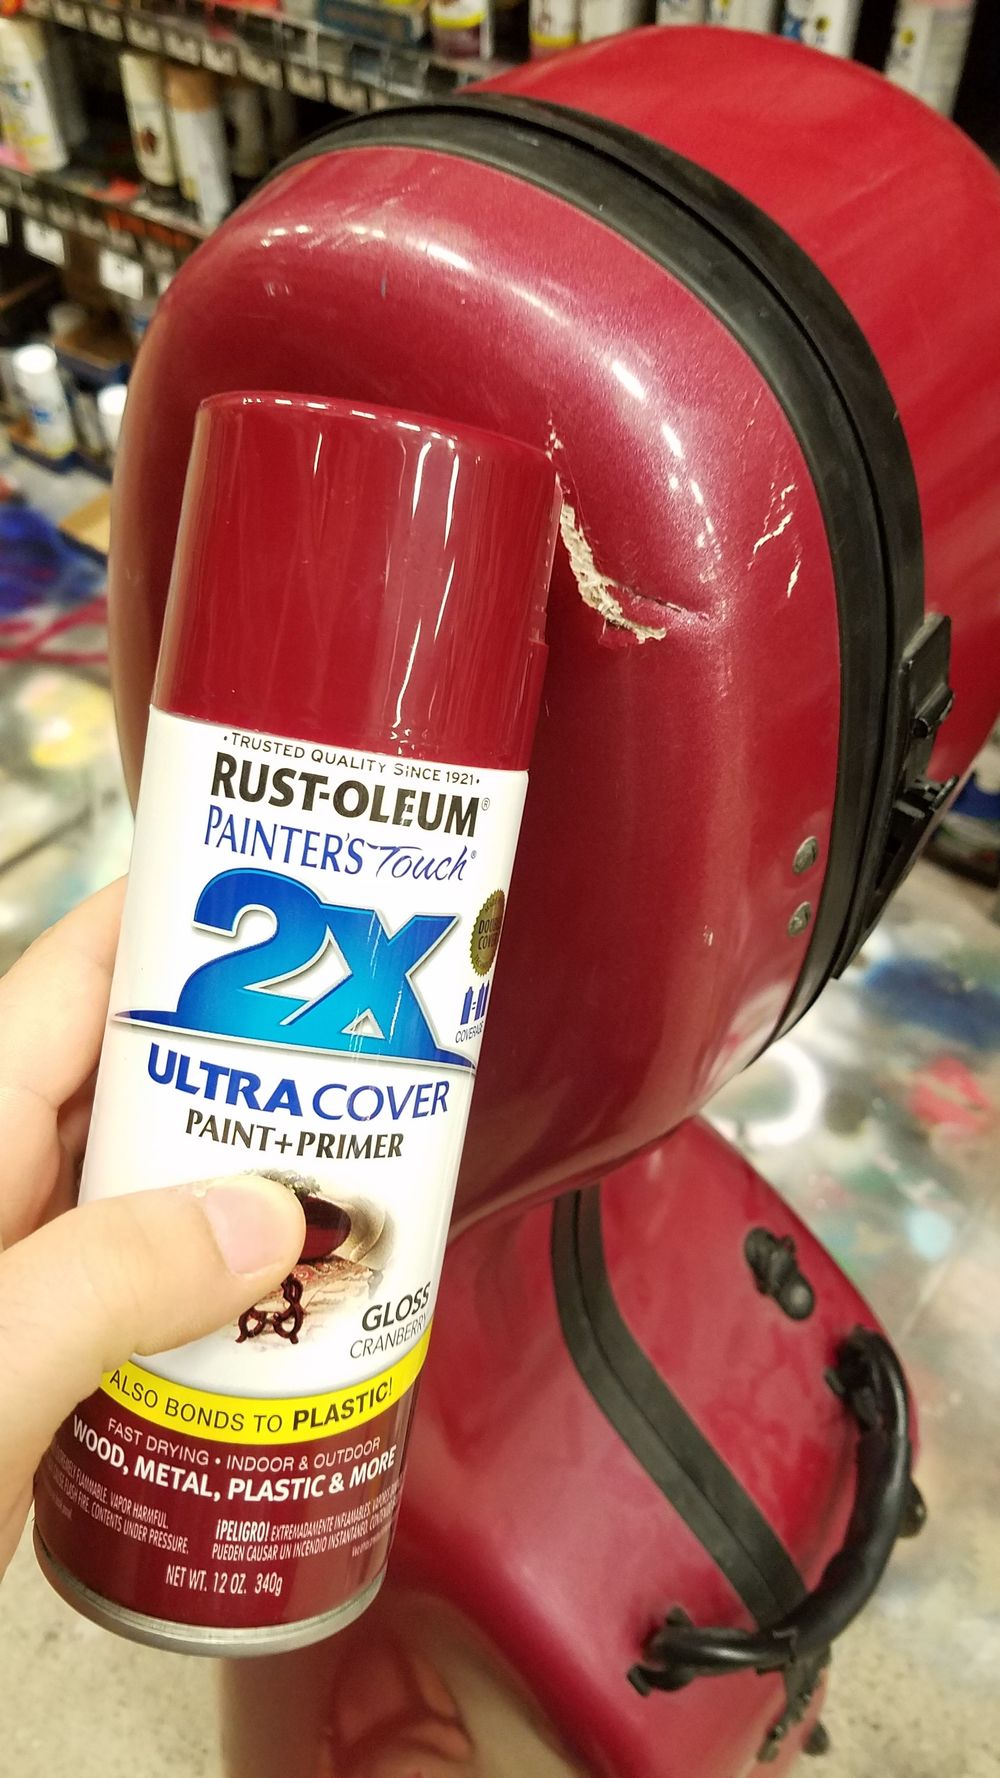 | 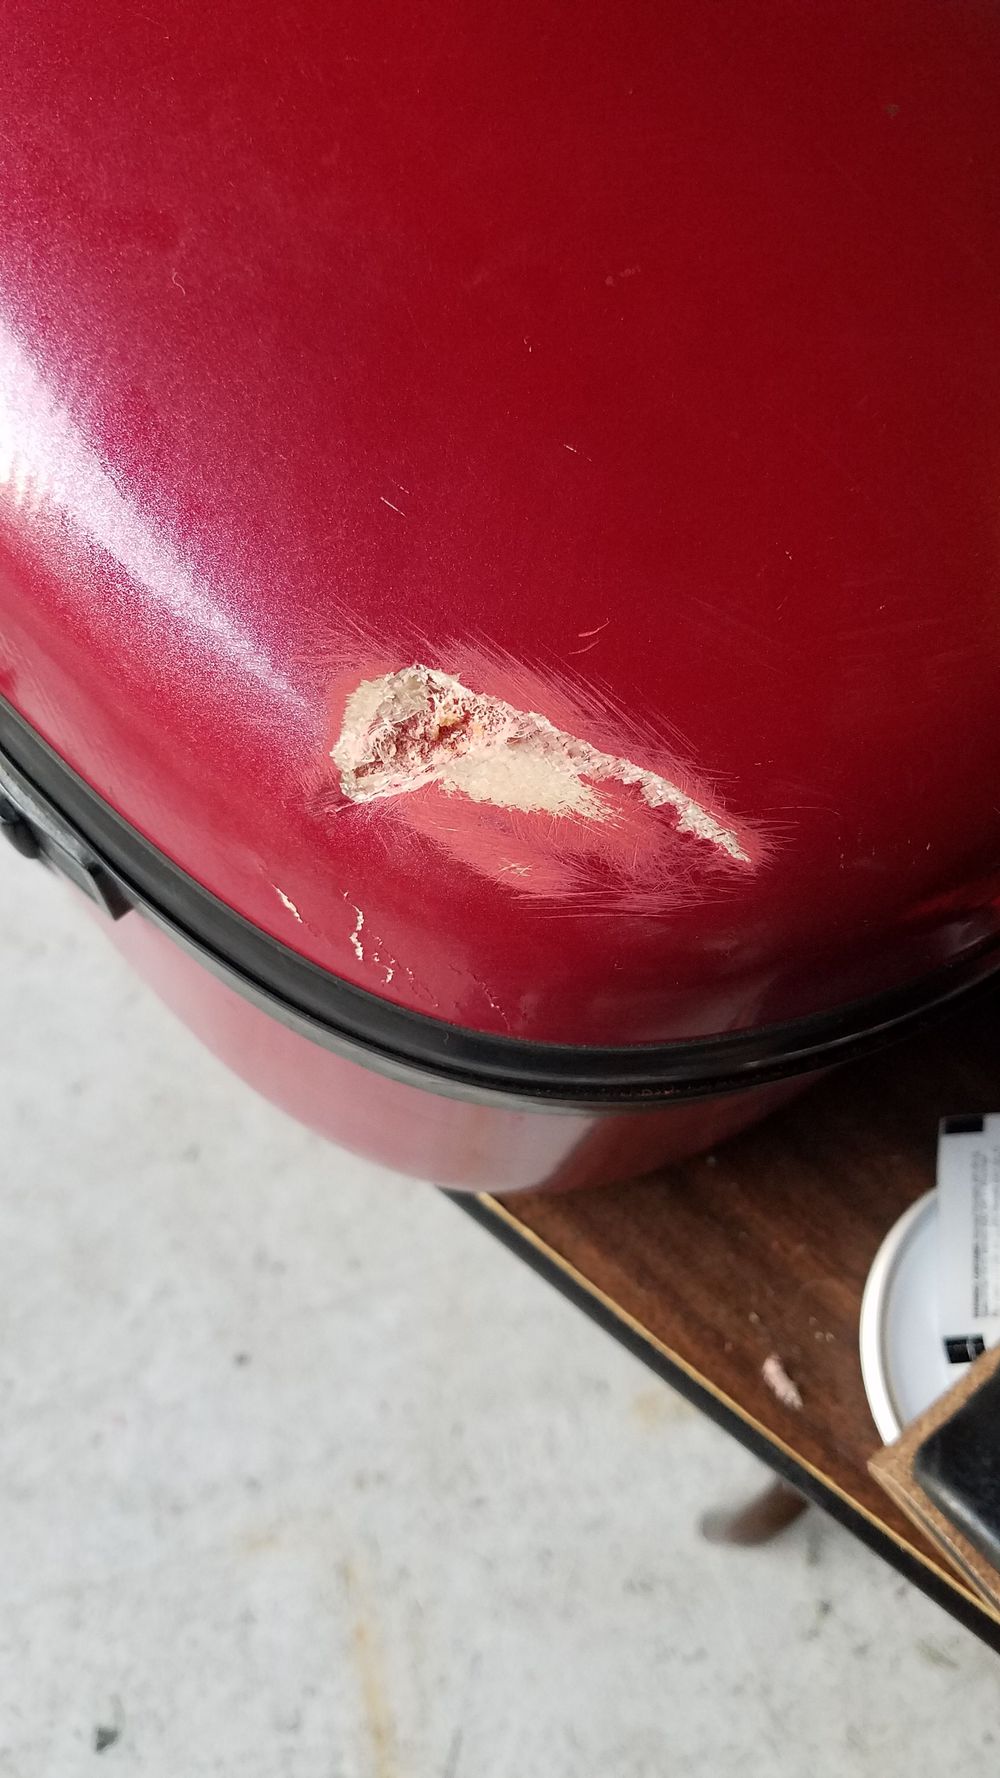 |
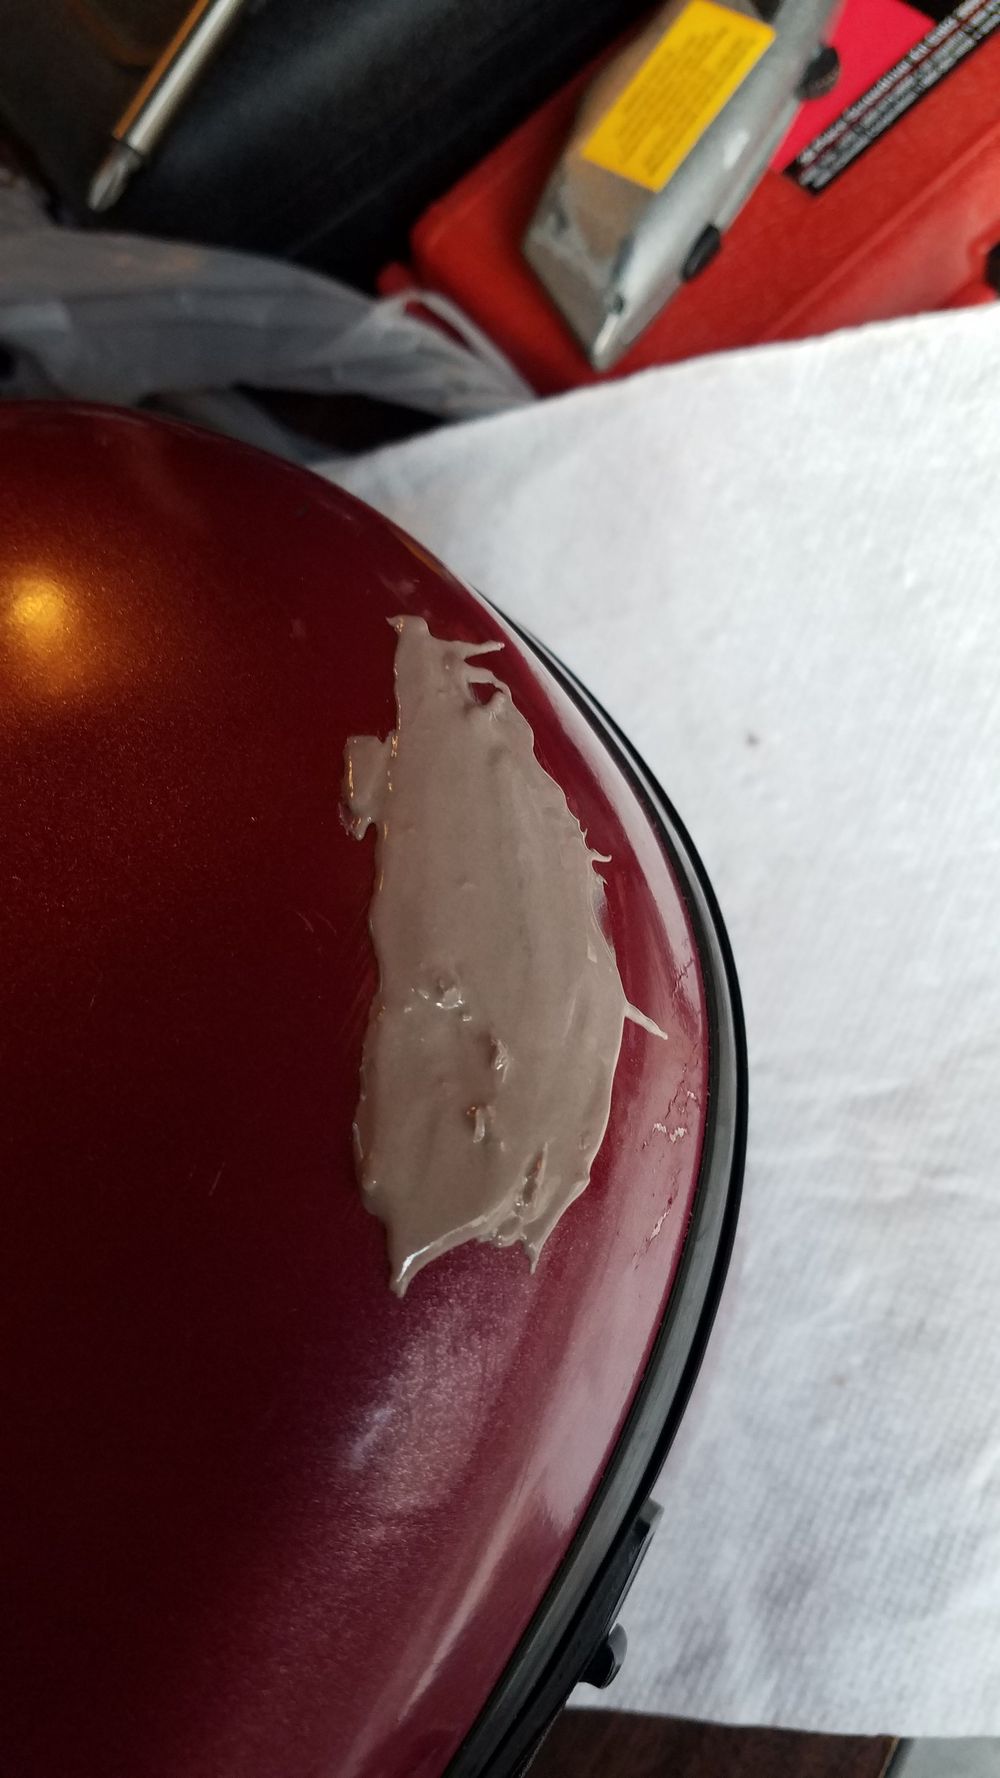
After I mixed the epoxy and filler, it was time to apply it. I applied way too much, so I had to remove it and clean out the area before trying again. Instead of making the same mistake twice, I asked my dad to apply it since he would be better at it.
 |  |  |
 |  |
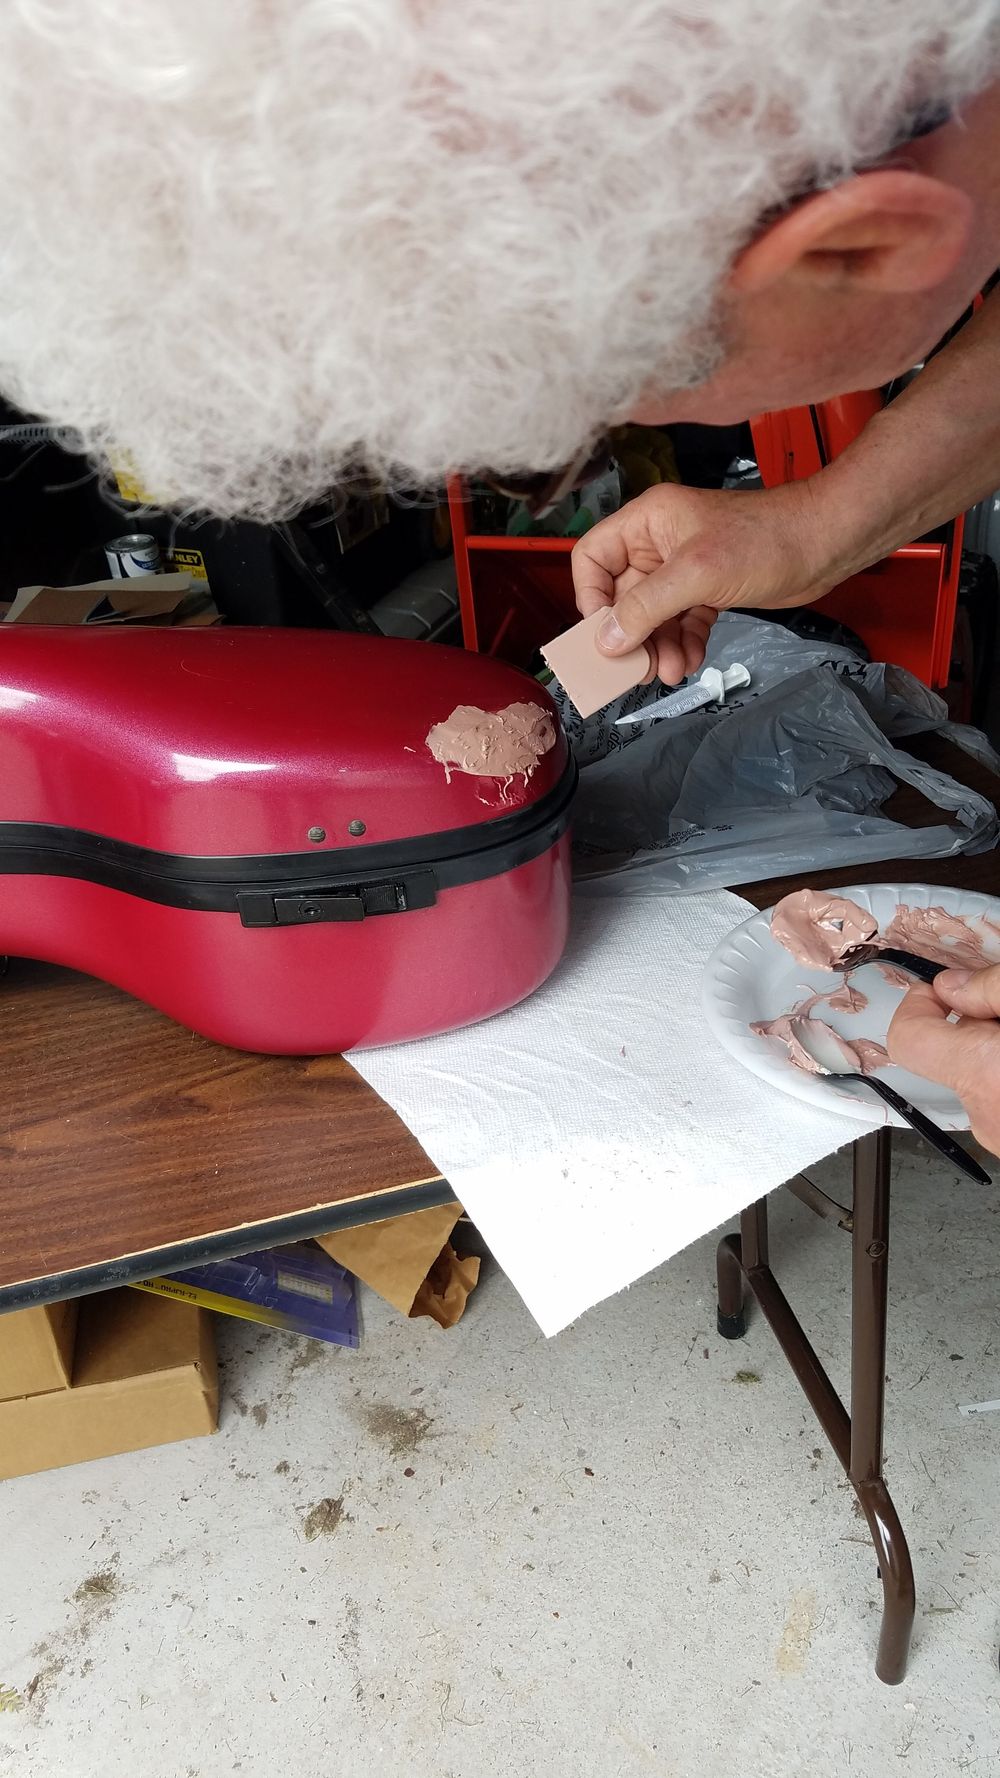 | 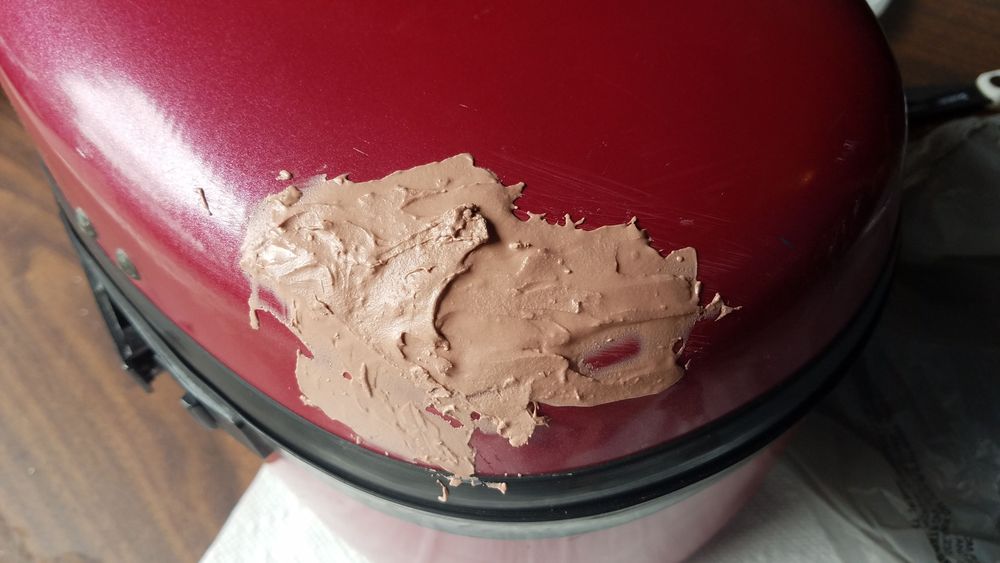 |
I’m not sure how clear it is from the pictures, but the end was a much thinner application than what I had done.
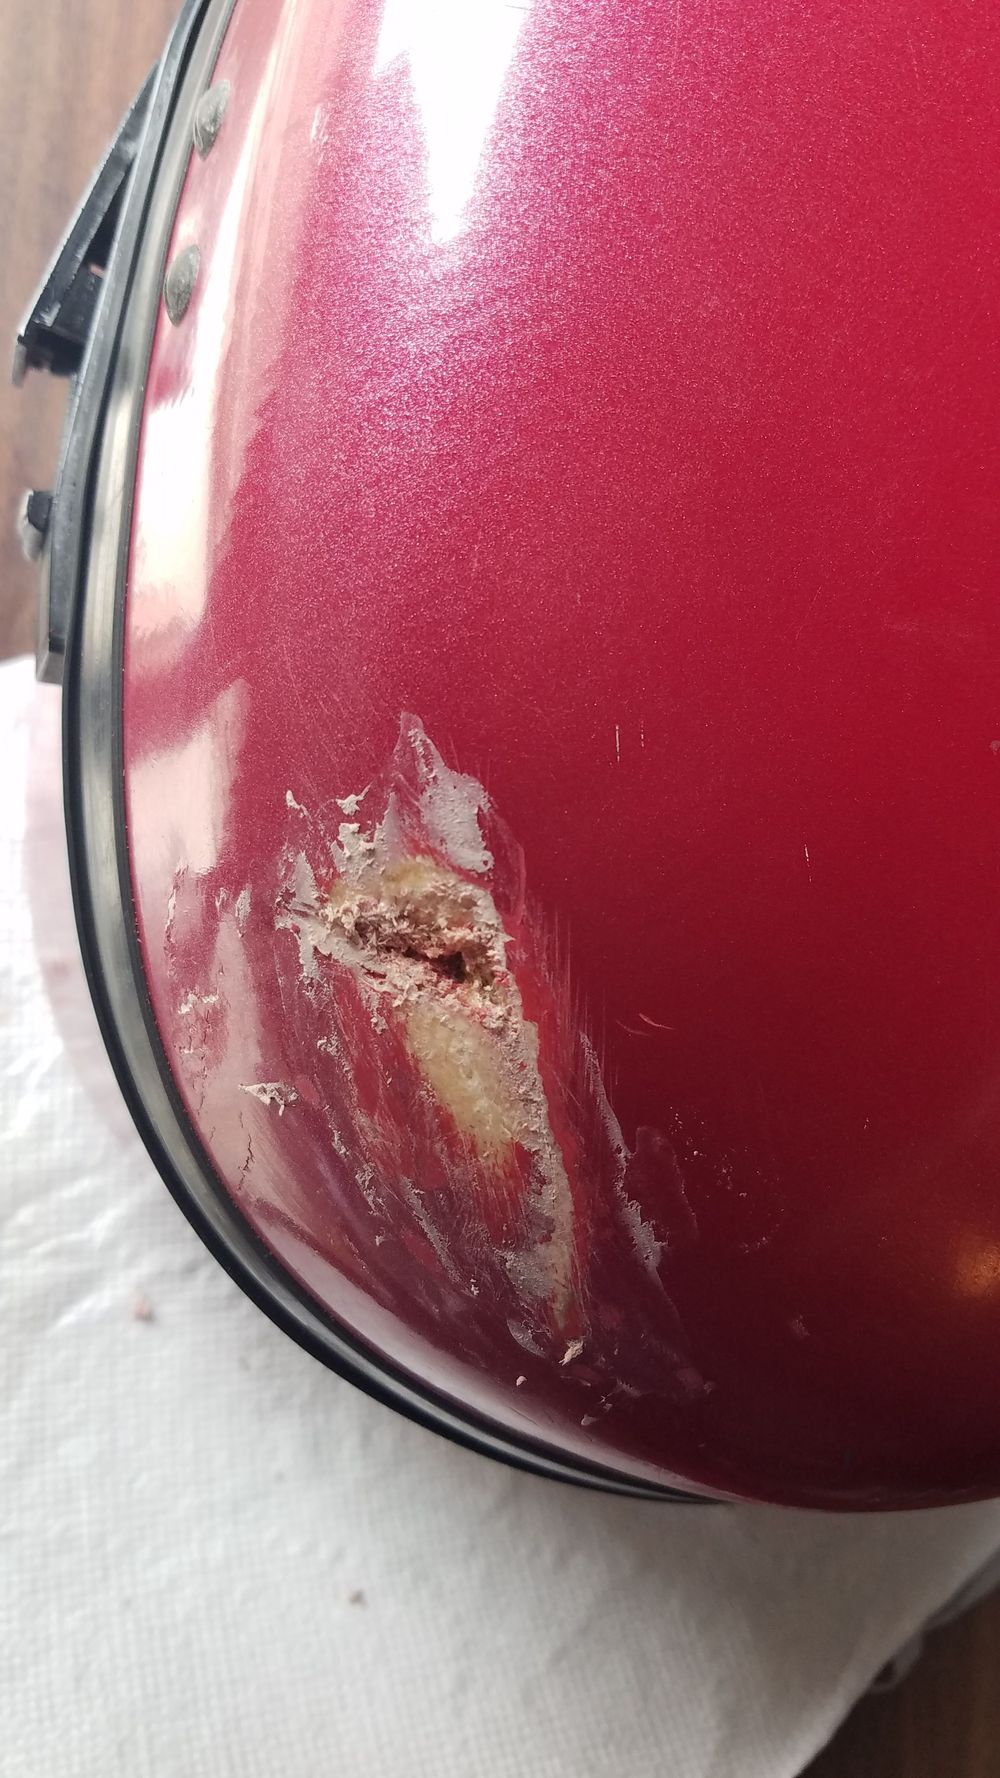
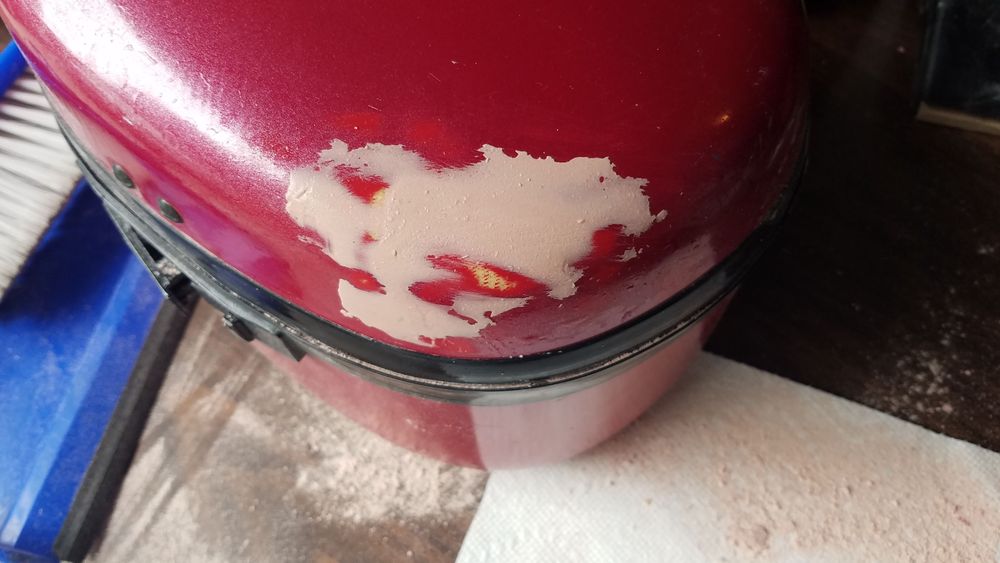
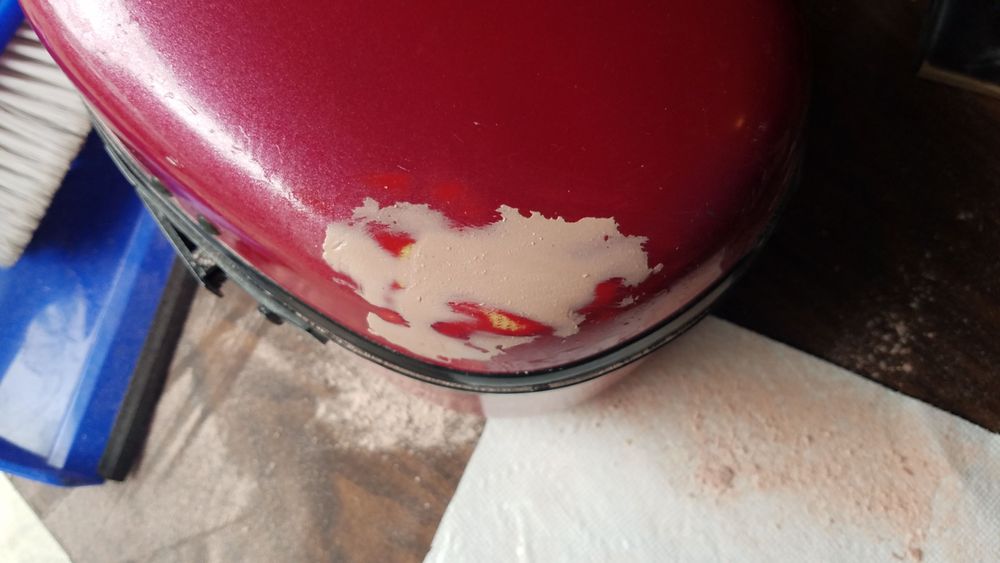
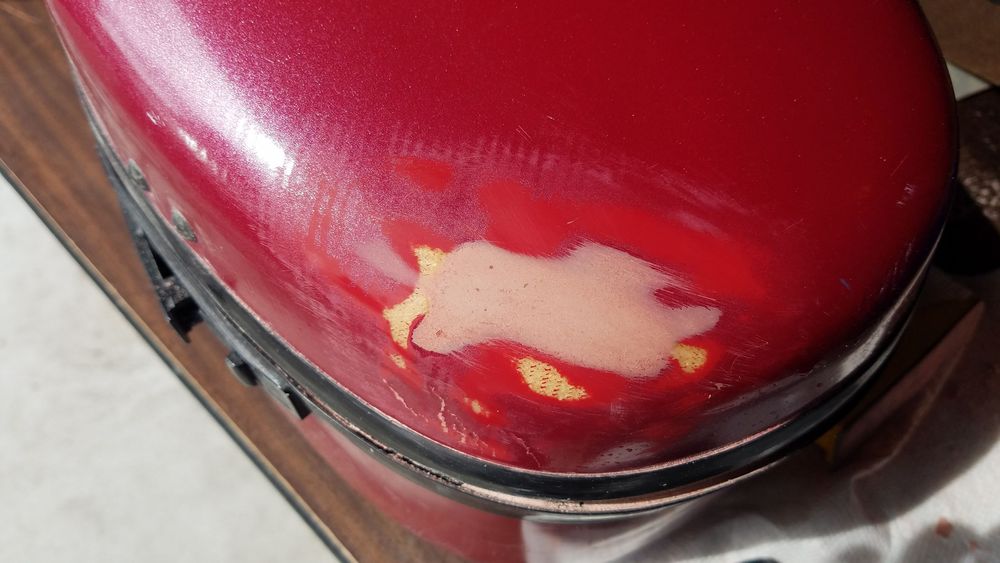
The next step was to sand the epoxy and filler mixture until it was smooth with the case. This is a common technique called feathering the edges. Having a thinner application made this a much shorter process.
 |  |
 |  |
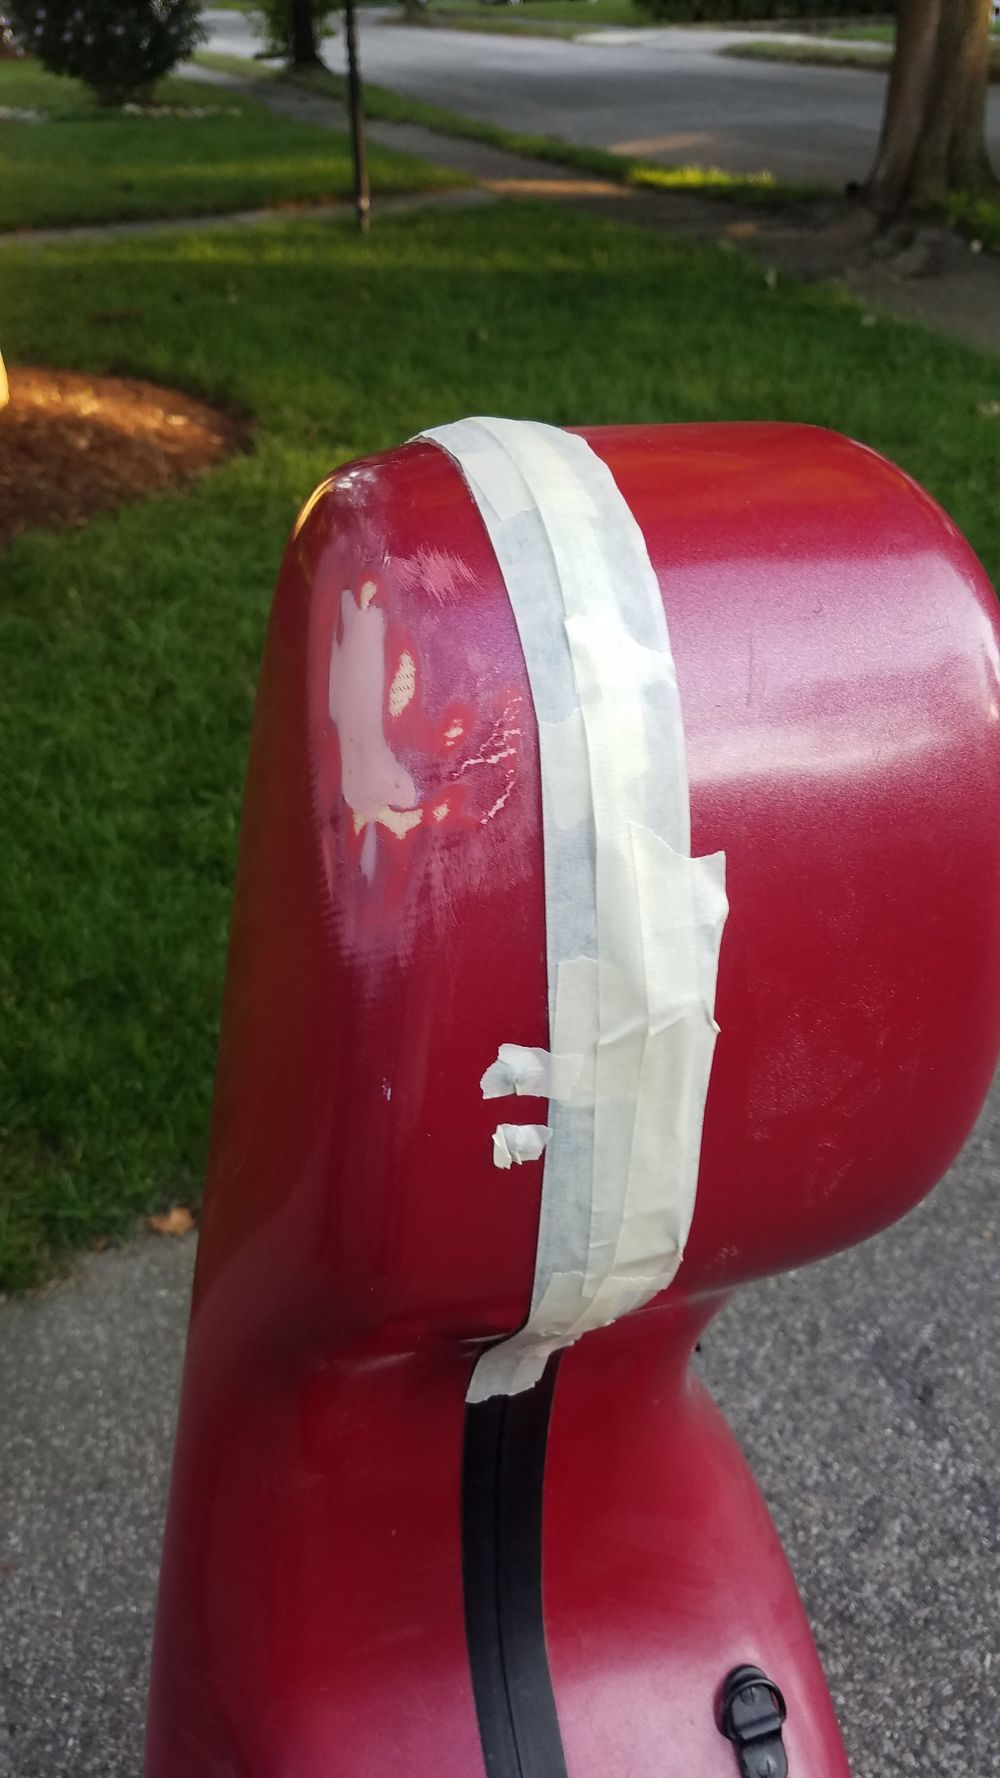
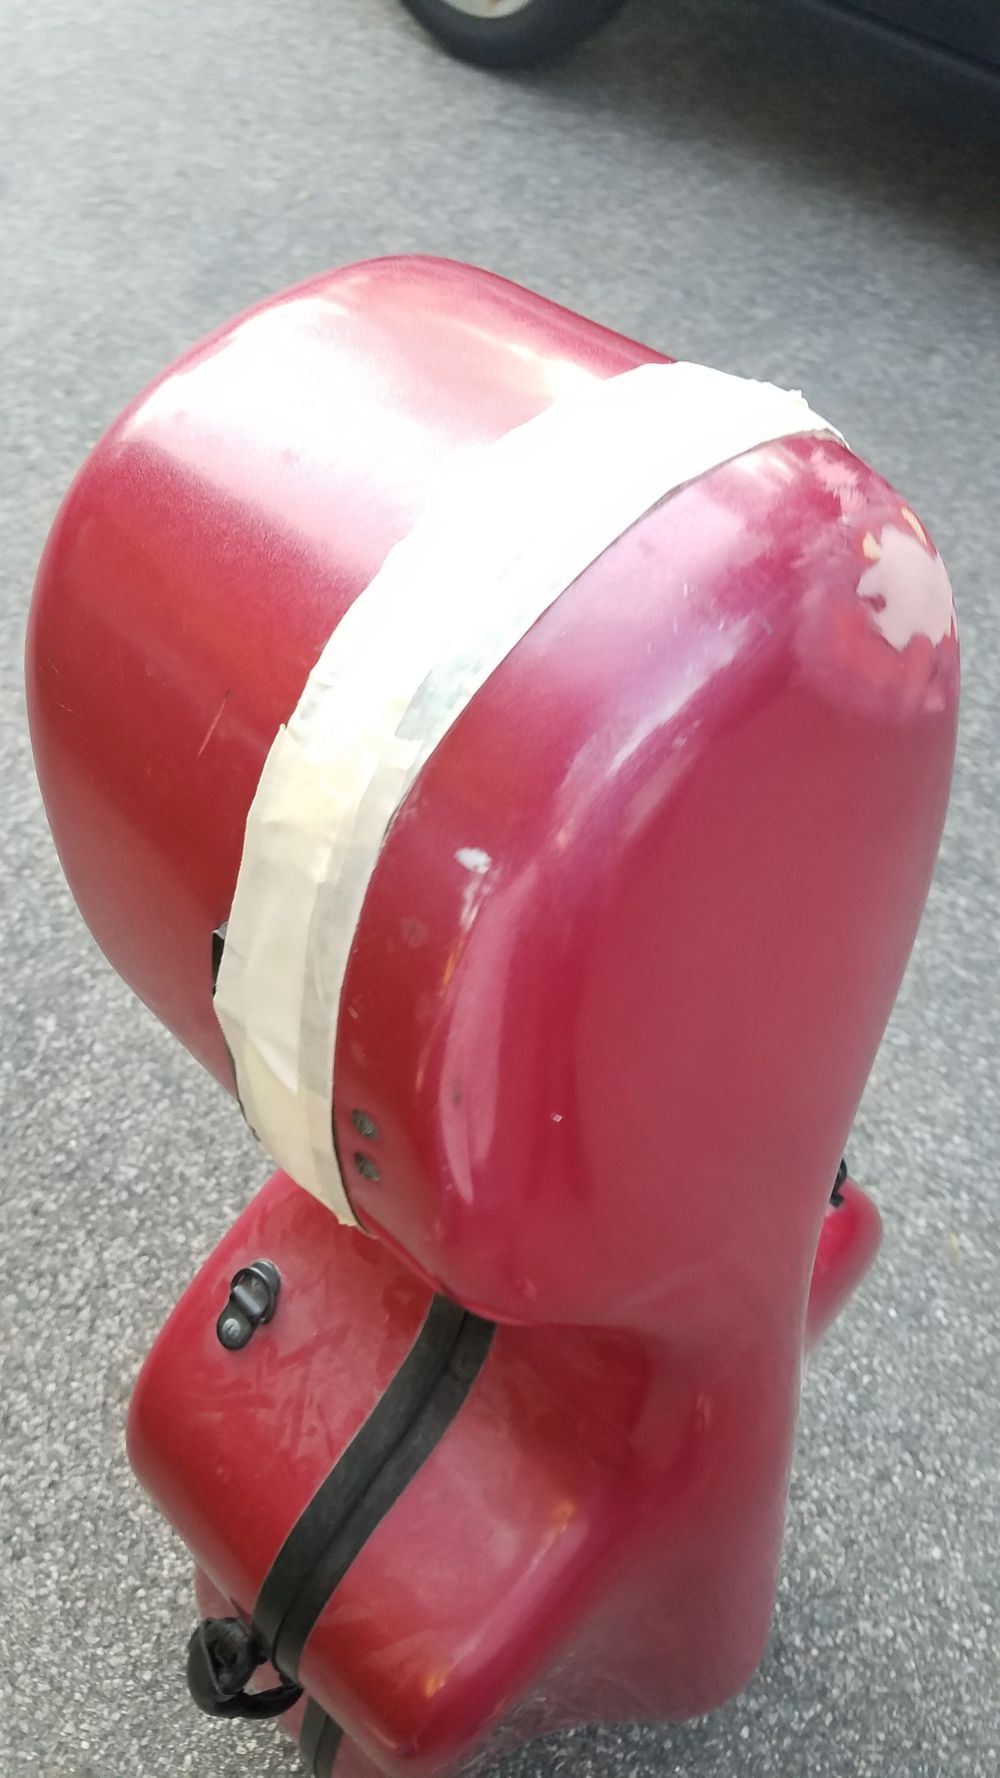
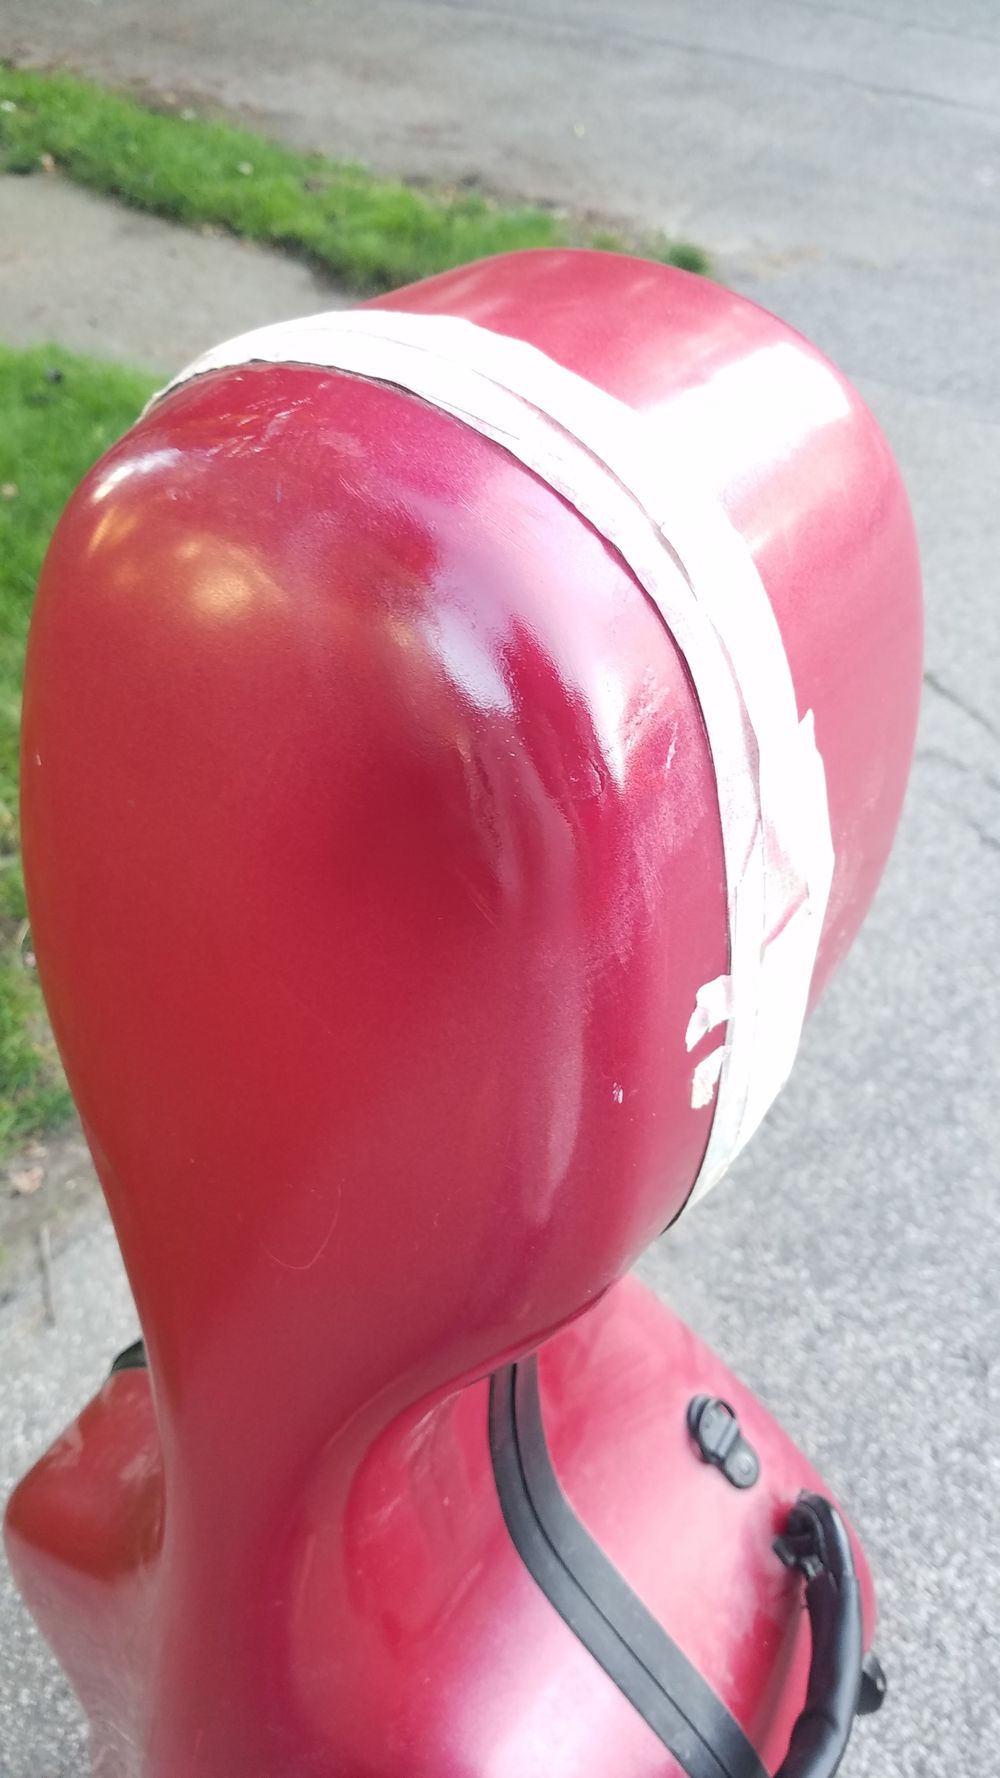
Finally, it was time to paint the case. I taped over the seal and latch so that I wouldn’t accidentally paint it.
 |  |  |
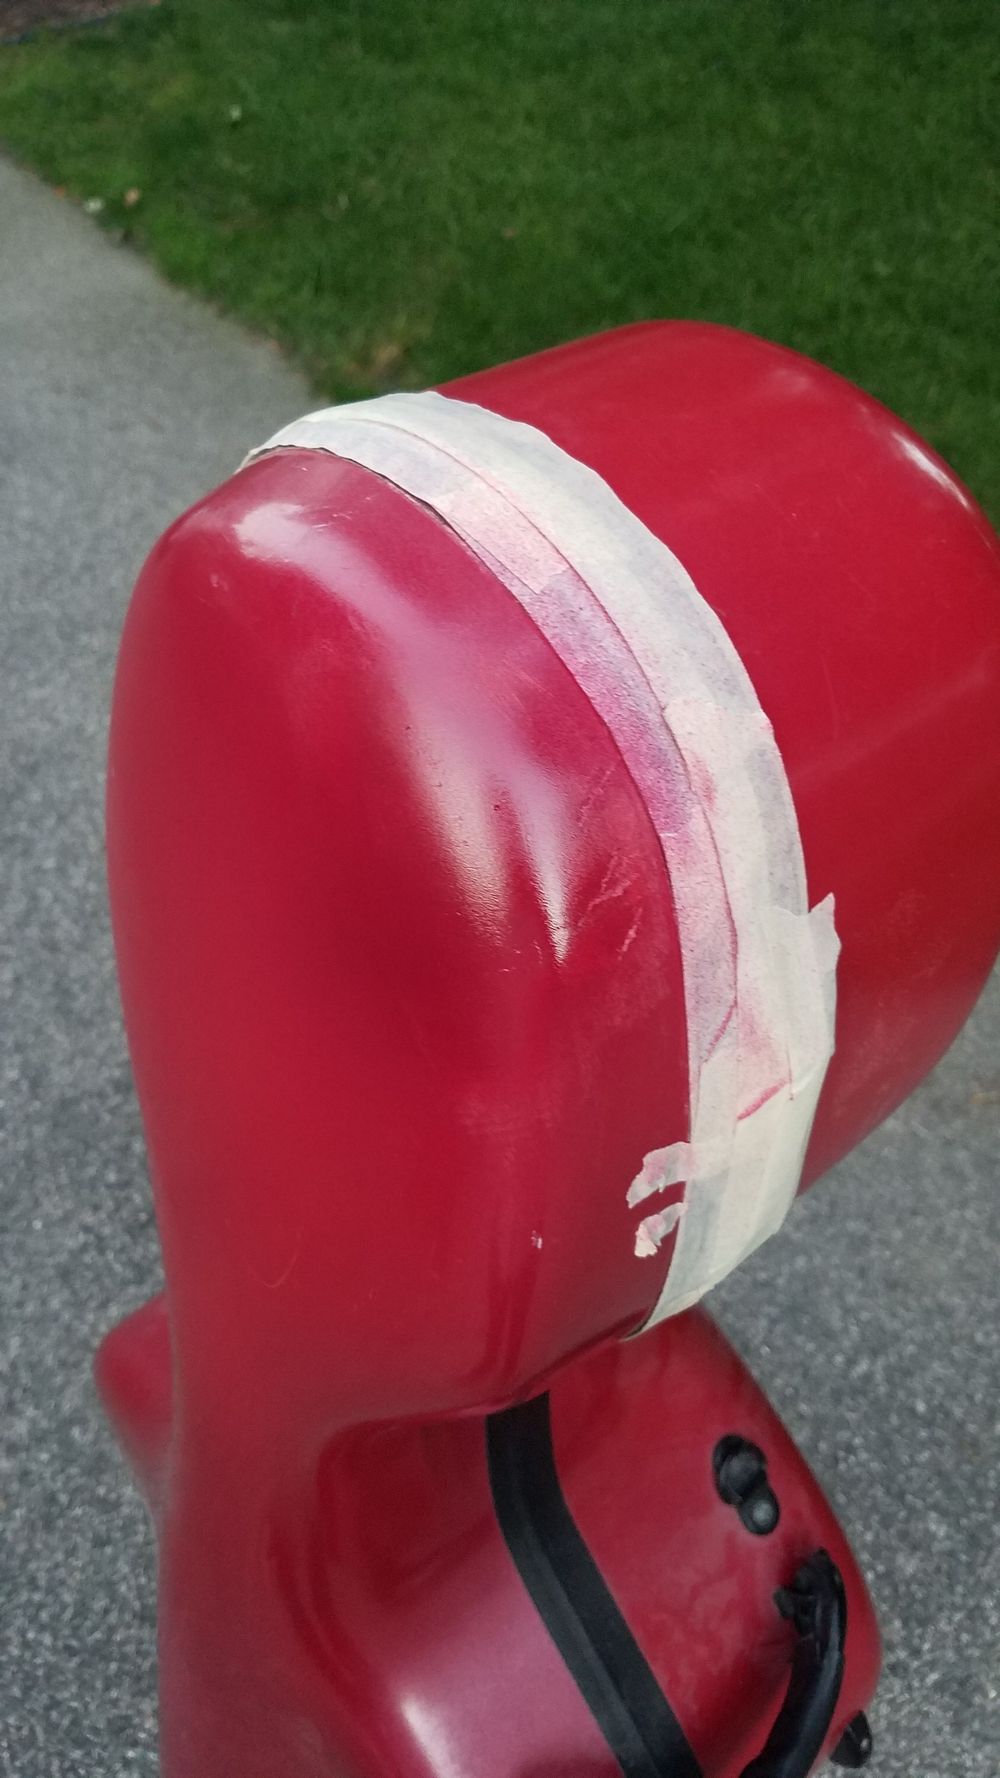 | 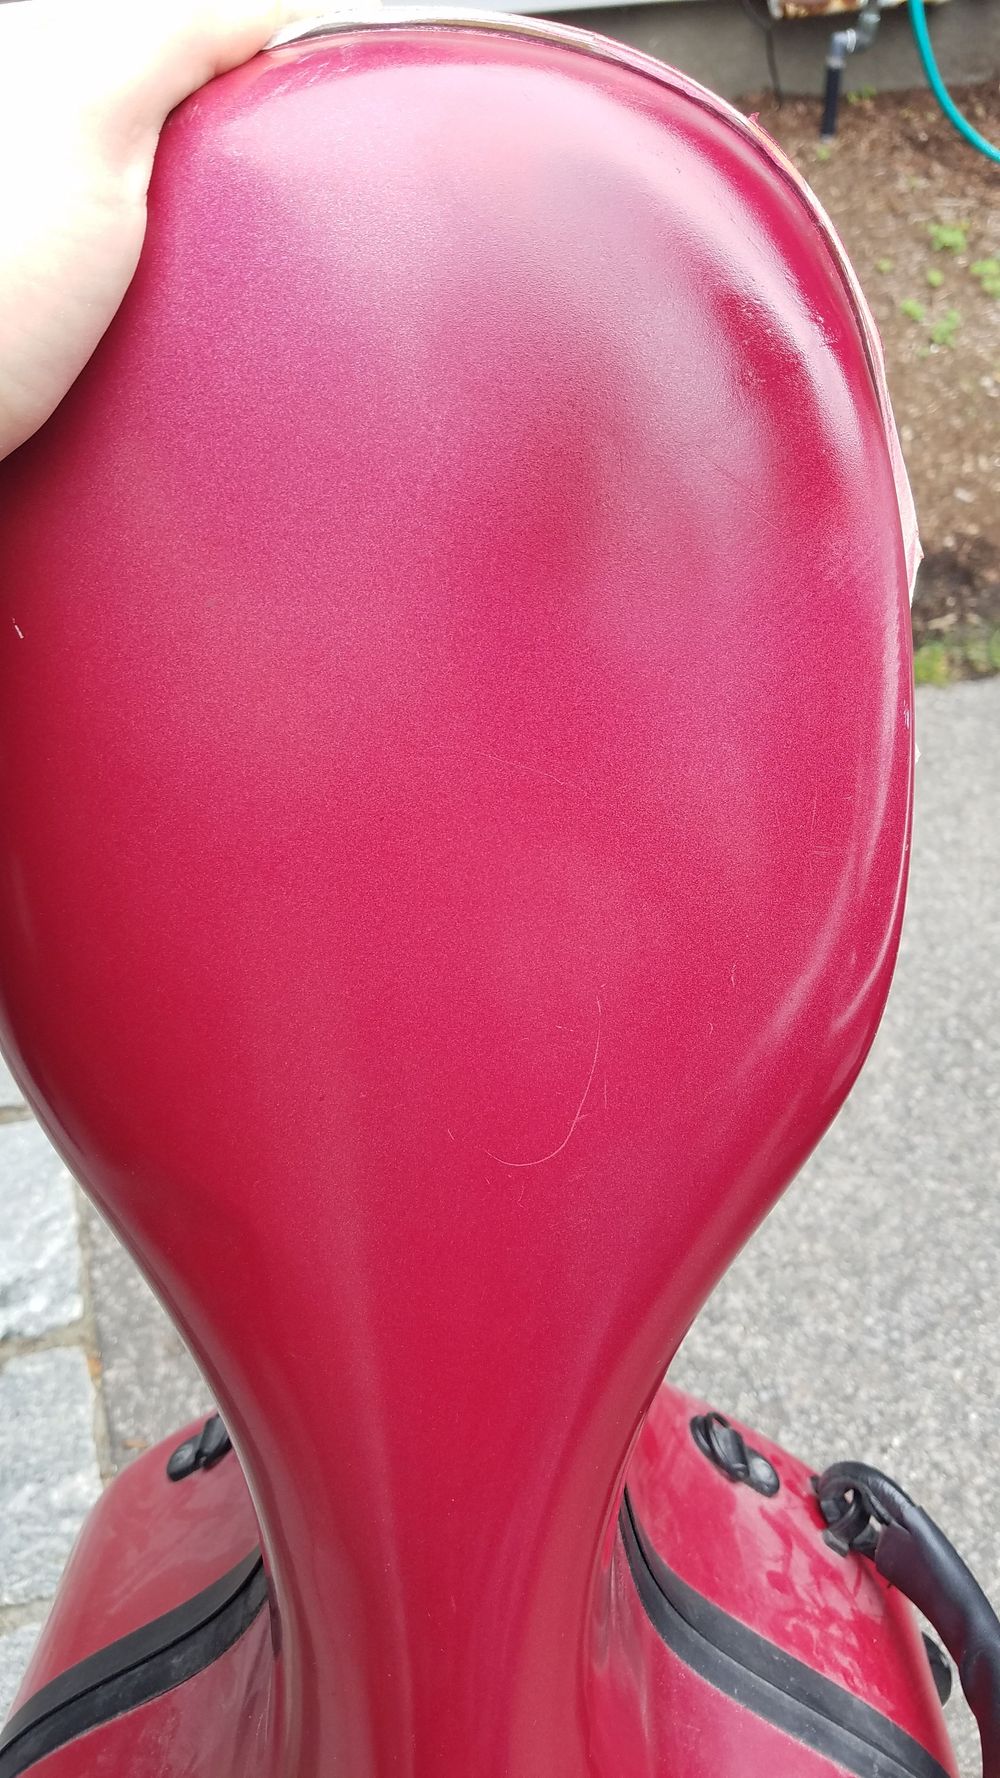 | 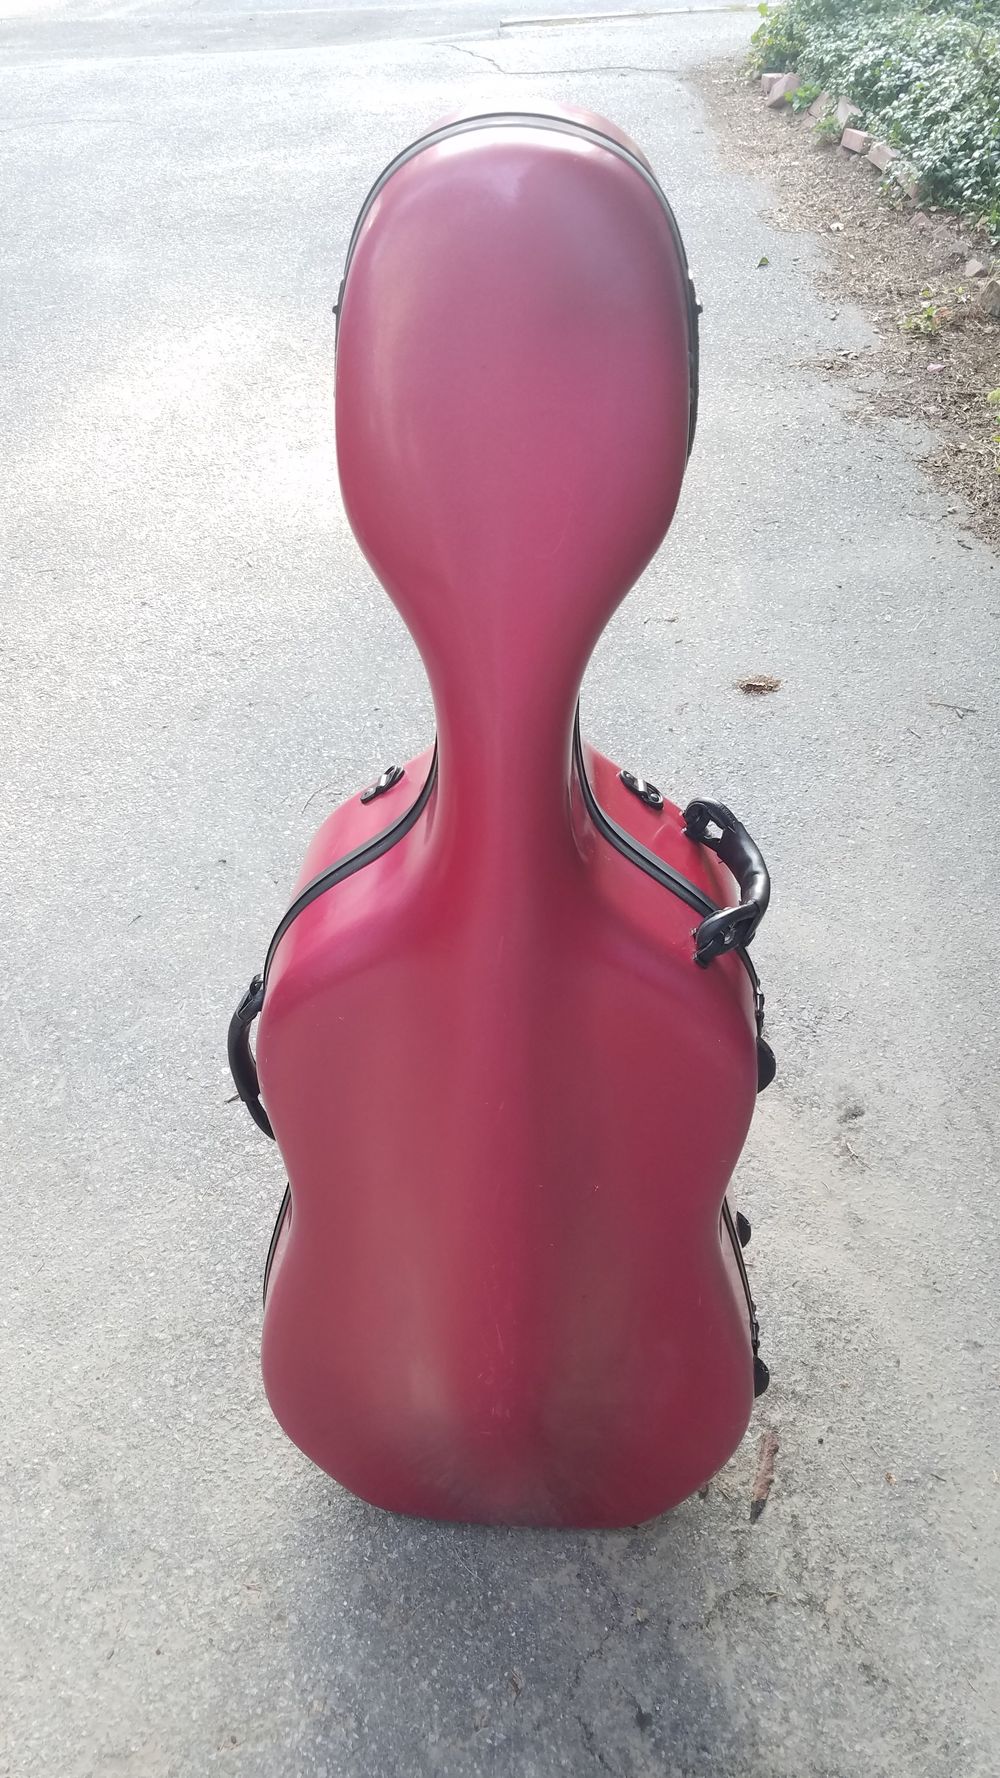 |
The color didn’t match perfectly, especially after it dried, but overall it came out well. I hope I never have to do this again.